Everything You Need to Know About the Best GPU Cooler You can get Right Now
Note: If you buy products from links on our site, we may earn a commission.
What is a GPU Cooler?
A GPU cooler is a crucial component designed to manage and regulate the temperature of a Graphics Processing Unit (GPU) within a computer system. Its primary function is to dissipate the heat generated by the GPU during its operation. The GPU cooler typically consists of a heatsink, heat pipes, fans, and sometimes a vapor chamber or liquid cooling solution
.The heat generated by a GPU arises from its intense computational tasks while rendering graphics, running simulations, or processing data. As the GPU works harder, it produces more heat, and if this heat isn’t effectively dissipated, it can lead to thermal throttling, reduced performance, or even hardware damage.
Importance of a GPU Cooler
The significance of a GPU cooler lies in its ability to maintain the GPU’s operating temperature within safe limits. If a GPU operates at excessively high temperatures for extended periods, it can lead to decreased performance and potentially shorten the lifespan of the GPU. An efficient GPU cooler ensures that the heat is efficiently transferred away from the GPU, allowing it to function optimally.
Adequate cooling also enables better overclocking potential for enthusiasts who want to push their GPUs beyond their default performance levels. This process demands effective cooling to manage the increased heat generated by higher clock speeds.
Factors to consider when selecting a GPU cooler
When selecting a GPU cooler, several factors need consideration:
- Compatibility: Ensure that the cooler is compatible with your specific GPU model, as different GPUs often have different form factors and mounting mechanisms.
- Cooling Performance: Look for coolers with high-quality materials, effective heat dissipation mechanisms, and good airflow to maintain lower temperatures.
- Noise Level: Consider the noise generated by the cooler’s fans. Some coolers prioritize quiet operation, while others focus on maximum cooling performance, which may result in higher noise levels.
- Form Factor and Space: Check the physical dimensions of the cooler to ensure it fits inside your computer case without obstructing other components.
- Overclocking Potential: If you’re interested in overclocking, opt for a cooler that can handle the increased heat generated at higher clock speeds.
- Price and Warranty: Balance the cost of the cooler with its features and performance. Additionally, consider the warranty provided by the manufacturer.
- Reviews and Recommendations: Look for reviews and recommendations from reliable sources or other users to gauge the cooler’s performance and reliability.
Overall, selecting the right GPU cooler is essential for maintaining optimal performance and longevity of your graphics card while considering factors like compatibility, cooling efficiency, noise levels, and your specific usage requirements.
Different Types of GPU Coolers
Active Coolers
Active GPU coolers are the most common type and typically utilize fans to dissipate heat from the GPU. These fans are positioned atop a heatsink, which is in direct contact with the GPU. As the GPU generates heat during operation, the heatsink absorbs this heat, and the fans actively blow air over the heatsink’s fins, facilitating heat dissipation.
Advantages of Active Coolers:
- Efficient Cooling: Active coolers can rapidly dissipate heat, maintaining lower GPU temperatures compared to passive cooling methods.
- Better Performance: They enable GPUs to sustain higher clock speeds for longer periods, which can be beneficial for gaming or demanding tasks.
- Compact Design: These coolers often have a compact form factor, suitable for various PC case sizes.
Disadvantages:
- Noise: The fans in active coolers can generate noticeable noise, especially under heavy load, which might be a concern for users seeking quieter operation.
- Potential Mechanical Failure: Due to moving parts, such as the fans, there’s a possibility of mechanical failure over time.
Passive Coolers
Passive GPU coolers, unlike active coolers, do not rely on fans for heat dissipation. Instead, they use a heatsink made of materials with high thermal conductivity, such as aluminum or copper, to draw heat away from the GPU. The heat is then passively dissipated into the surrounding air without the aid of fans.
Advantages of Passive Coolers:
- Silent Operation: As there are no fans, passive coolers operate silently, making them a preferred choice for users who prioritize a quiet computing environment.
- Reliability: With no moving parts, passive coolers have a reduced risk of mechanical failure.
- Lower Power Consumption: Since they don’t require electricity to power fans, passive coolers consume less power.
Disadvantages:
- Limited Cooling Capacity: Passive coolers might not dissipate heat as effectively as active coolers, potentially leading to higher GPU temperatures, especially under heavy loads.
- Size and Compatibility: They tend to have larger heatsinks to compensate for the lack of active cooling, which might pose compatibility issues in smaller PC cases.
Liquid Coolers
Liquid cooling systems for GPUs use a closed-loop system containing a pump, tubing, a radiator, and a water block to manage heat. The water block makes direct contact with the GPU, transferring heat to the liquid coolant, which then flows to the radiator. Here, the heat is dissipated as the liquid passes through the radiator and is cooled by fans.
Advantages of Liquid Coolers:
- Excellent Heat Dissipation: Liquid cooling systems are highly efficient, providing superior heat dissipation compared to air-based coolers.
- Customization and Overclocking: They offer more customization options, allowing enthusiasts to overclock GPUs while maintaining lower temperatures.
- Reduced Noise: Liquid coolers tend to operate quieter than some high-performance air coolers.
Disadvantages:
- Complex Installation: Installing liquid cooling systems can be more complex and require careful setup compared to traditional air coolers.
- Maintenance: While they typically require less maintenance than custom open-loop systems, closed-loop liquid coolers may still need occasional maintenance to prevent issues like pump failure or coolant evaporation.
- Price: Liquid cooling systems are generally more expensive than air-based coolers, potentially making them less accessible to budget-conscious users.
Each type of GPU cooler has its unique set of advantages and limitations, catering to different user preferences, performance requirements, and budget considerations.
Here are the Top 5 GPU Coolers Available in the Market
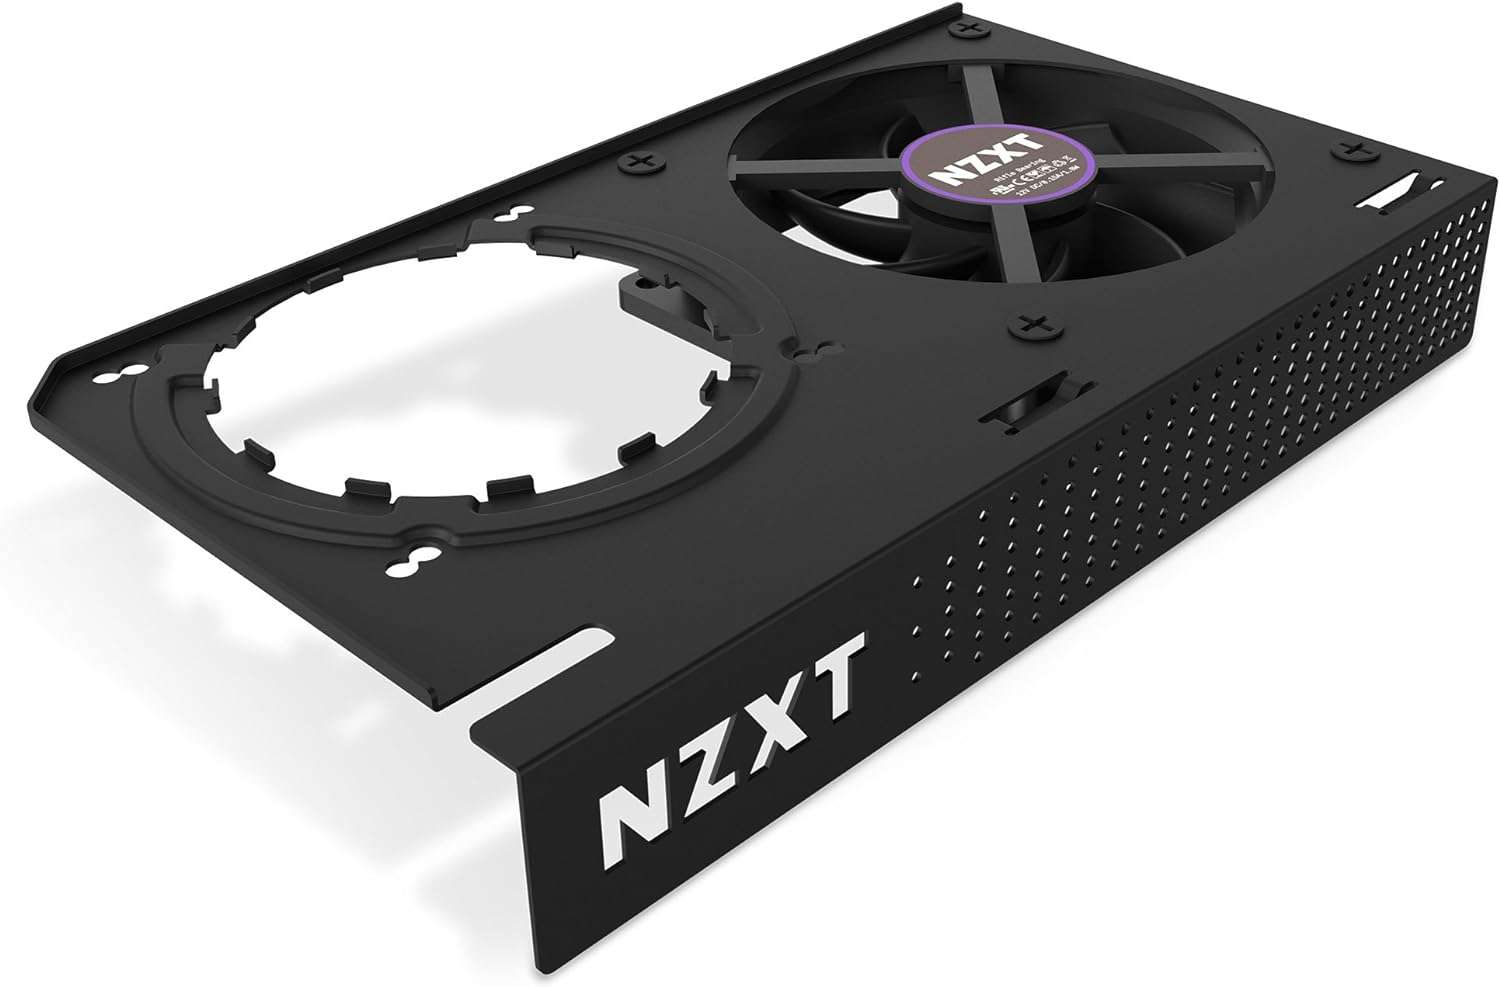
1 ) NZXT Kraken G12
Specifications
The NZXT Kraken G12 has specifications such as:
- Compatibility: Supports both reference and non reference design AMD and Nvidia GPUS
- Voltage: 12 Volts
- Cooling Method: Fans
- Noise Level: 0.38 dB
- Active cooling for VRM: Yes
- Weight: 4.8 ounces
Rating
The Overall rating for this GPU from us is 9/10
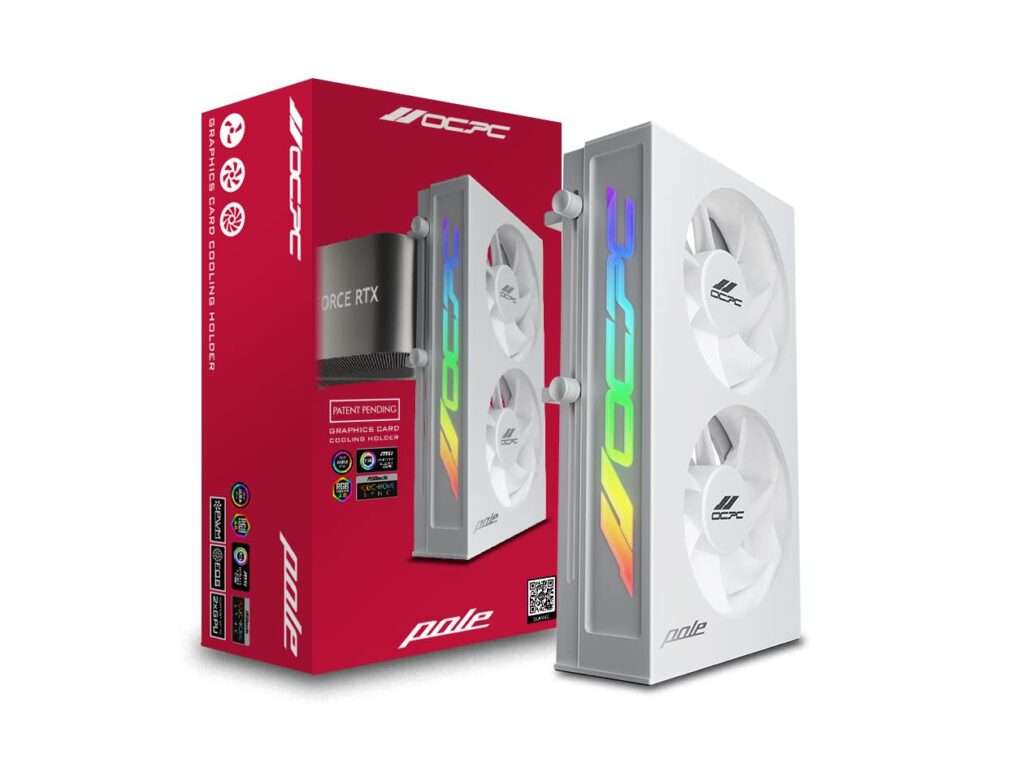
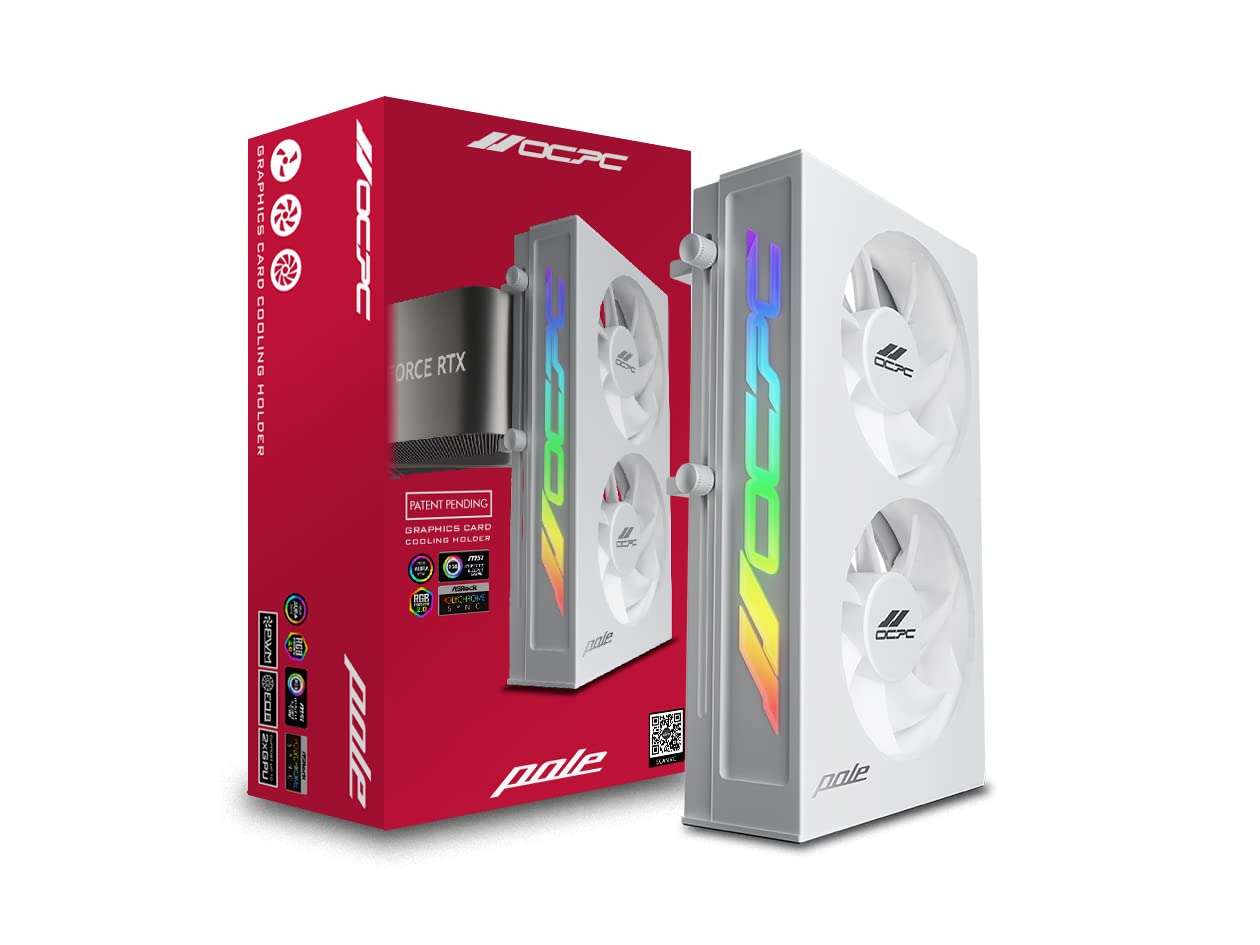
2 ) OCPC Pole
Specifications
The OCPC Pole has specifications such as:
- Compatibility: Supports AMD, Nvidia GPUS and Intel
- Voltage: 12 Volts
- Gpu Support Bracket: Supports UP to 2X Graphics Card.
- Cooling Method: Air
- Noise Level: 28 db
- Power Connector Type: 4 pin
- Maximum Rotational Speed: 2500 RPM
Rating
The Overall rating for this GPU from us is 9/10
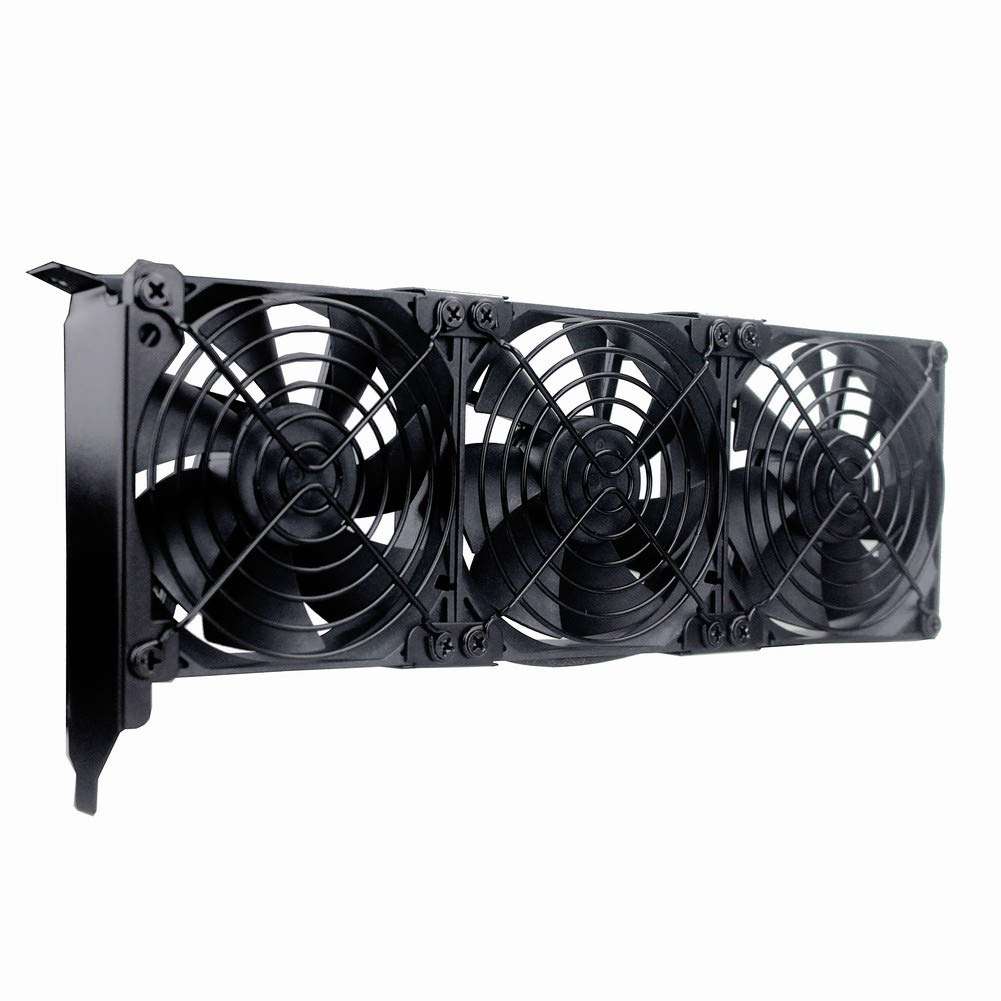
3 ) GDSTIME
Specifications
The EVGA CLC has specifications such as:
- Compatibility: Supports AMD, Nvidia GPUS and Intel
- Voltage: 12 Volts
- Cooling Method: Fans
- Noise Level: 28 db
- Maximum Rotational Speed: 1800 RPM
Rating
The Overall rating for this GPU from us is 8.5/10
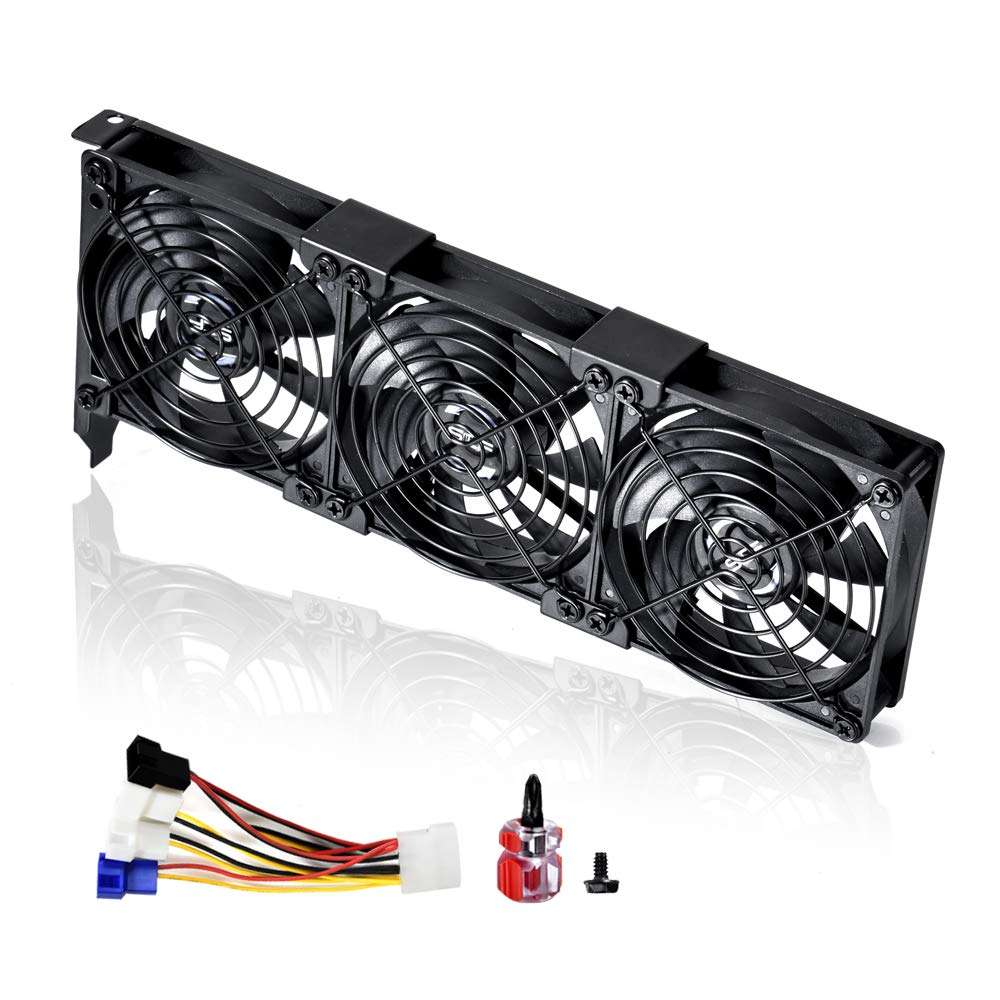
4 ) SCCCF
Specifications
The SCCCF has specifications such as:
- Compatibility: Supports AMD, Nvidia GPUS and Intel
- Voltage: 12 Volts
- Cooling Method: Air
- Noise Level: 30 db
- Power Connector Type: 3-pin,4-pin
- Air Flow Capacity: 167.7 Cubic Feet Per Minute
- Maximum Rotational Speed: 3000 RPM
Rating
The Overall rating for this GPU from us is 8/10
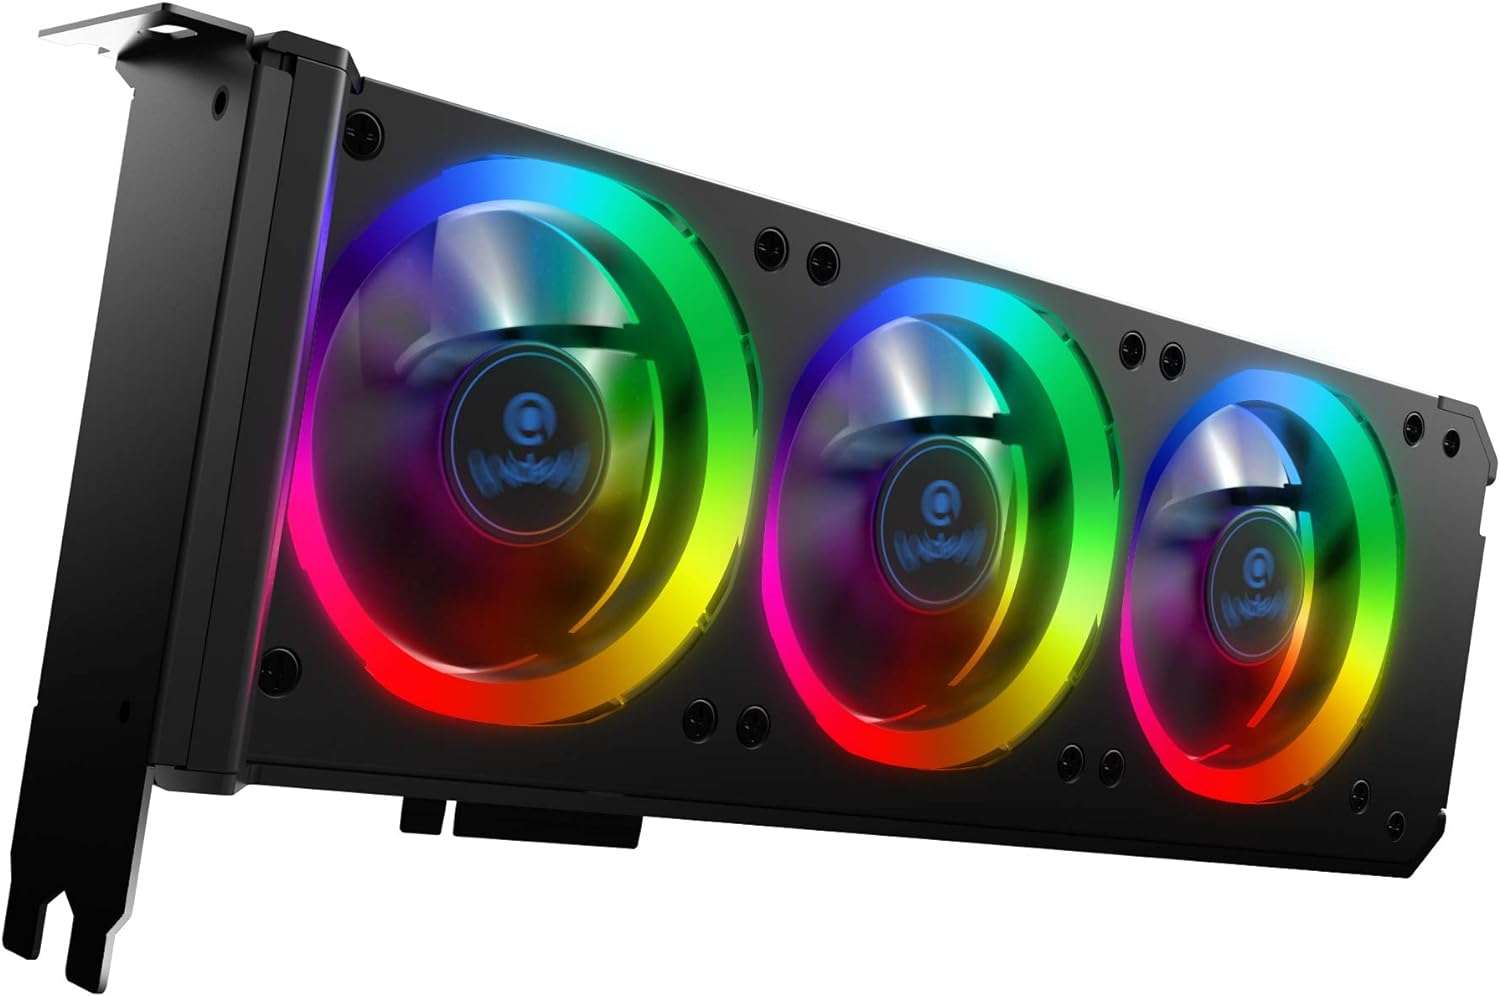
5 ) Anidees
Specifications
The Anidees has specifications such as:
- Compatibility: Supports AMD, Nvidia GPUS and Intel
- Power Connector Type: 3 pin,4 pin
- RGB Lighting: Yes
- Voltage: 12 Volts
- Cooling Method: Fans
- Noise Level: 19.3 db
- RF Remote control : Allow you to adjust Fan Speed and cycle through lighting effects / brightness / LED speed without opening the case.
- Maximum Rotational Speed: 1600 RPM
Rating
The Overall rating for this GPU from us is 8/10
Installation Guide: Tips on Setting Up Your GPU Cooler
Preparing Your Workstation
Tools and Workspace:
- Gather the necessary tools: screwdrivers (typically Phillips head), thermal paste (if not pre-applied on the cooler), and any additional components specific to your cooler.
- Choose a well-lit, clean, and static-free workspace to assemble your PC. An anti-static wrist strap can be beneficial to prevent static discharge that could damage components.
GPU Compatibility Check:
- Ensure your chosen GPU cooler is compatible with your specific graphics card model. Check the manufacturer’s website or documentation for compatibility details.
Read the Manual:
- Review the installation manual provided by the cooler manufacturer thoroughly. It contains specific instructions and precautions that are crucial for a successful installation.
Installation Steps
Step 1: Gather Your Materials:
- Unbox the GPU cooler and lay out its components, ensuring you have everything needed for the installation.
Step 2: Prepare the GPU:
- Power down your PC and disconnect it from any power source.
- Uninstall the existing GPU cooler, if applicable, by removing screws or clips holding it in place. Clean the GPU die using isopropyl alcohol and a lint-free cloth to remove any old thermal paste.
Step 3: Apply Thermal Paste (if needed):
- If the new cooler doesn’t come with pre-applied thermal paste, apply a pea-sized amount of thermal paste onto the center of the GPU die. Spread it evenly using a plastic card or the cooler’s included spreading tool.
Step 4: Mount the New Cooler:
- Place the GPU cooler over the GPU die, aligning it with the mounting holes on the graphics card.
- Use the provided screws or clips to secure the cooler onto the GPU. Ensure it’s firmly attached without overtightening, which could damage the GPU or cooler.
Step 5: Connect the Cooler:
- If your cooler has fans or additional components, connect them to the appropriate headers on the GPU or motherboard.
Step 6: Reassemble Your PC:
- Carefully reinsert the GPU into its PCIe slot, ensuring a secure fit.
- Reconnect any power cables, and ensure all connections are properly secured.
- Power on your PC and monitor temperatures to ensure the cooler is functioning correctly.
Potential Challenges and Solutions
Compatibility Issues:
- If the cooler doesn’t fit or align properly with the GPU or case, review the instructions to ensure correct installation. Check for any required adapter brackets or screws provided by the manufacturer.
Thermal Paste Application:
- Applying too much or too little thermal paste can affect heat transfer. Follow guidelines from the thermal paste manufacturer or cooler manual for the appropriate amount.
Mounting Challenges:
- Sometimes, aligning the cooler and securing it to the GPU can be tricky. Take your time, and don’t force anything. Refer to the manual for troubleshooting tips specific to your cooler model.
Unexpected Issues:
- If you encounter unexpected problems, consult the cooler’s manual or reach out to the manufacturer’s customer support for guidance.
By following these steps carefully and being prepared for potential challenges, you can successfully install a GPU cooler, improving the cooling efficiency of your graphics card and potentially enhancing its performance.
Maintenance: Keeping Your GPU Cooler in Optimal Condition
Cleaning and Maintenance Routines
Regular Cleaning:
- Dust Removal: Dust accumulation can hinder airflow and cooling efficiency. Use compressed air or a soft brush to gently remove dust from the cooler’s fins, fans, and surrounding areas.
- Fan Maintenance: Ensure the fans spin freely and aren’t obstructed. If fans are removable, you can clean them more thoroughly by carefully wiping with a cloth or using compressed air.
Monitoring Temperatures:
- Use software tools to monitor GPU temperatures regularly. Elevated temperatures could indicate potential cooling issues that need attention.
Inspecting for Issues:
- Periodically check for any visible signs of damage, such as bent fins, leaks (if using a liquid cooler), or worn-out thermal interface material between the GPU and cooler.
How Often Should You Replace Your GPU Cooler?
General Lifespan:
- The lifespan of a GPU cooler depends on various factors such as usage, quality, and maintenance. Well-maintained coolers can last several years.
- There isn’t a fixed replacement schedule. Instead, monitor its performance and condition over time.
Considerations for Replacement:
- If you notice significantly higher temperatures despite regular maintenance, it might indicate the cooler’s diminished efficiency.
- Upgrading to a more advanced or better-performing cooler might be warranted if you’re pushing your GPU’s limits through overclocking or intense use.
Signs Your GPU Cooler Needs Replacement
Increased Temperatures:
- Consistently higher temperatures during regular use or sudden spikes in temperature can indicate a cooler that’s struggling to manage heat effectively.
Excessive Noise or Unusual Sounds:
- If the cooler’s fans start making loud or irregular noises, it could indicate issues with the fan bearings or other components.
Visible Damage:
- Physical damage, such as bent fins, cracks, or leaks (in liquid coolers), warrants immediate attention and likely replacement.
Performance Issues:
- If your GPU starts exhibiting performance drops or instability during tasks that it previously handled easily, it might be due to inadequate cooling.
Age and Wear:
- Coolers, especially those several years old, might show signs of wear and reduced efficiency over time. Regular maintenance can prolong their lifespan, but eventually, replacement might be necessary.
Regular cleaning, monitoring, and addressing issues promptly can extend the life of your GPU cooler. While there’s no fixed timeline for replacement, keeping an eye on performance, temperatures, and signs of wear will help you determine when it’s time for an upgrade or replacement.
Frequently Asked Questions
Q: What factors should I consider when choosing a GPU cooler?
A: Consider compatibility with your GPU model, cooling performance, noise levels, size for fit in your PC case, overclocking potential, and your budget. Reviewing user reviews and expert recommendations can also be beneficial.
Q: Are liquid coolers better than air coolers for GPUs?
A: Liquid coolers often offer superior heat dissipation and are preferred for heavy overclocking due to their efficiency. However, they’re more complex to install and usually more expensive compared to air coolers.
Q: Which brands are known for producing reliable GPU coolers?
A: Brands like Corsair, NZXT, EVGA, ASUS, MSI, and Arctic are well-regarded for their GPU coolers, offering a mix of performance, quality, and varying features.
Q: Can I replace my stock GPU cooler with an aftermarket one?
A: Yes, aftermarket coolers can often be installed on GPUs. However, compatibility is crucial, so ensure the cooler fits your specific GPU model.
Q: How do I know if my GPU cooler needs an upgrade?
A: Elevated temperatures during regular use, increased fan noise, visible damage, or if you’re looking to overclock and need better cooling efficiency could be signs that an upgrade is needed.
Q: Is it necessary to replace the stock cooler on my GPU?
A: Not always. Stock coolers can perform adequately for most users. Upgrading becomes necessary if you’re experiencing temperature issues, noise problems, or aiming for better performance through overclocking.
Q: Can I install a third-party cooler without voiding my GPU’s warranty?
A: Some third-party coolers may void the warranty if installation involves modifying the GPU. Check your GPU manufacturer’s warranty policy before proceeding.
Q: Are there universal GPU coolers that fit various GPU models?
A: Some aftermarket coolers are designed to fit multiple GPU models using adjustable mounting mechanisms or compatibility brackets. However, it’s crucial to check compatibility with your specific GPU.
Q: How difficult is it to install an aftermarket GPU cooler?
A: Installation difficulty varies. Some coolers come with detailed instructions and are straightforward to install, while others might require more technical expertise and time. Always follow the provided installation manual or seek professional help if unsure.
Q: What’s the best way to maintain a GPU cooler for optimal performance?
A: Regularly clean the cooler from dust, monitor temperatures, apply thermal paste when necessary, and keep an eye on fan functionality. Regular maintenance can prolong the cooler’s lifespan and ensure efficient cooling.
Leave a Reply